Water is a finite and precious resource. As climate change intensifies and fresh water becomes increasingly scarce, sustainable water conservation methods have become essential. One of the most effective and accessible solutions is rainwater harvesting.
By collecting rainwater, you reduce your reliance on municipal water systems, lower your utility bills, and support a more resilient, eco-friendly home.
“Don’t waste water—even a drop is precious.” – UN Water
In this practical guide, you’ll learn how to build your own sustainable rainwater harvesting system, from selecting materials to legal considerations.
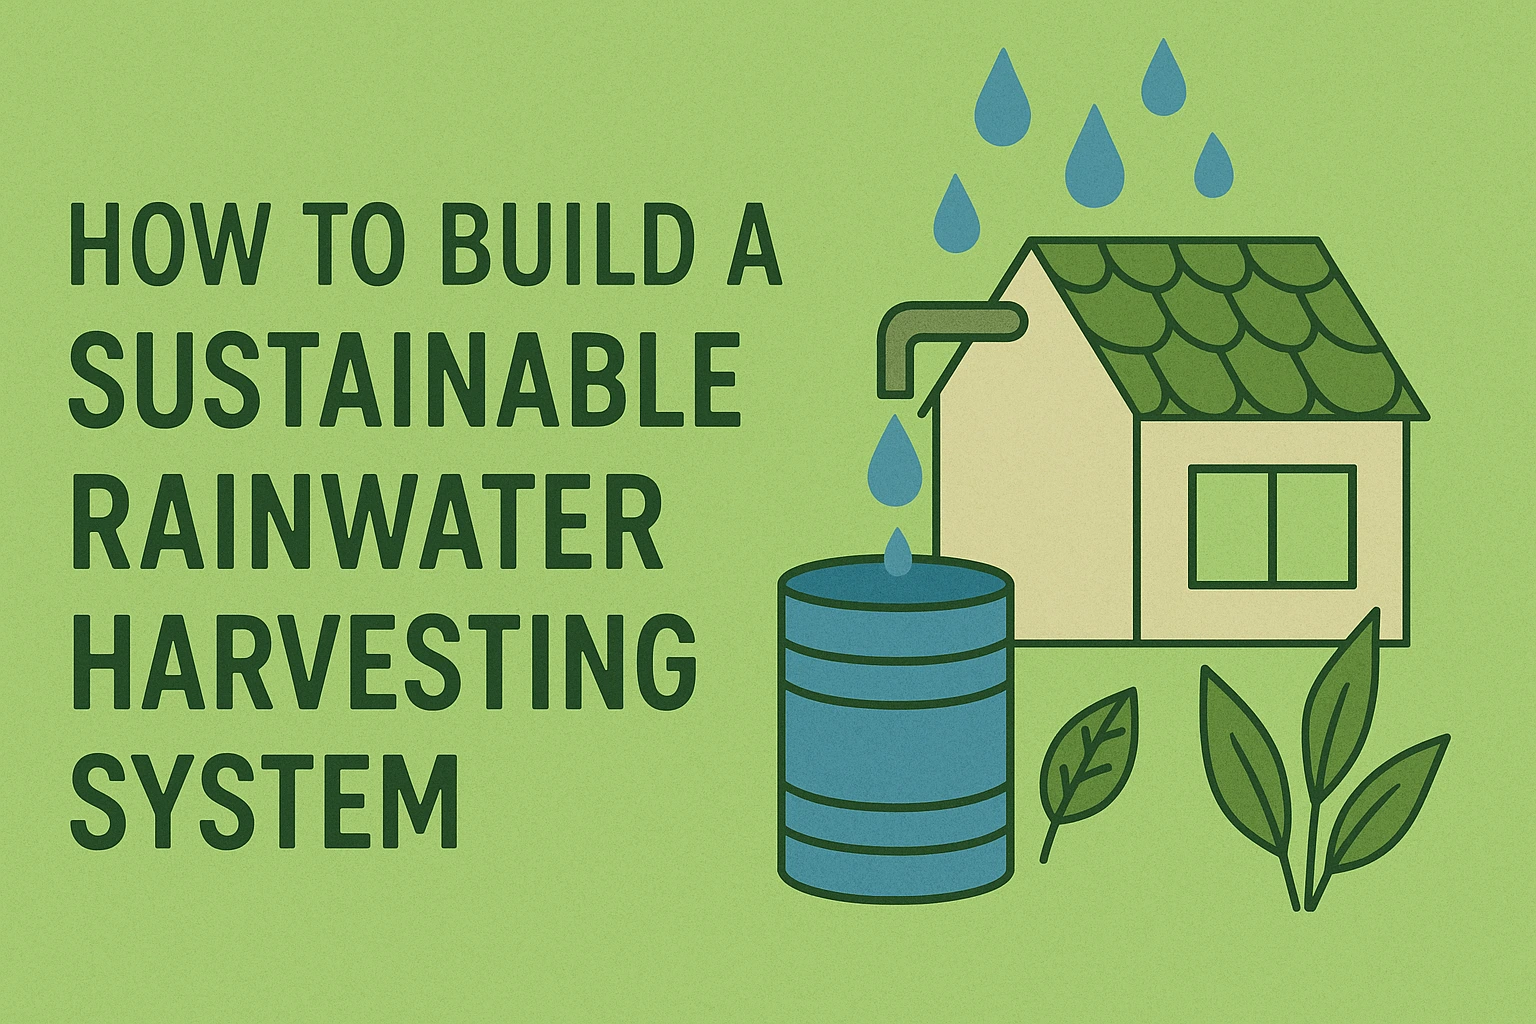
What Is a Rainwater Harvesting System?
A rainwater harvesting system collects and stores rainwater runoff from roofs and surfaces, making it available for later use—such as irrigation, toilet flushing, or even drinking (with proper filtration).
Eco-Intent Benefits Include:
- Reduces strain on groundwater and municipal systems
- Helps prevent stormwater runoff and erosion
- Lowers your water bill
- Provides backup water during droughts
Types of Rainwater Harvesting Systems
Before diving into the setup process, it’s helpful to understand your options.
| System Type | Description | Best For |
|---|---|---|
| Surface runoff | Captures water from landscapes, driveways, etc. | Large properties |
| Rooftop catchment | Collects rainwater from roof surfaces into a storage tank | Residential homes |
| Barrel system | Basic setup using barrels under downspouts | Beginners, small gardens |
| Subsurface tanks | Underground cisterns for large-scale water storage | Eco-homes, farms |
How to Build a Rainwater Harvesting System: Step-by-Step
Let’s walk through building a basic rooftop rainwater harvesting system, which is ideal for most households.
1. Check Local Regulations First
Before you start, research:
- Rainwater collection laws in your region
- Local permits or restrictions
- Approved uses (e.g., outdoor only or potable use)
You can refer to this Rainwater Harvesting Guide by the EPA for more information.
2. Choose Your Catchment Area
Most homes use the roof as a catchment area. Use a clean, non-toxic roofing material like metal or tile to reduce contamination.
Tip: Avoid tar or lead-painted roofs, which can leach chemicals.
3. Install Gutters and Downspouts
Gutters channel the rainwater from the roof to your collection tank.
- Keep gutters clean and free from leaves
- Slope them slightly toward the downspout
- Add gutter guards to minimize debris
4. Set Up a First Flush Diverter
A first flush diverter redirects the initial flow of dirty rainwater (with dust and bird droppings) away from the tank.
This small addition:
- Improves water quality
- Protects filtration systems
- Extends storage tank life
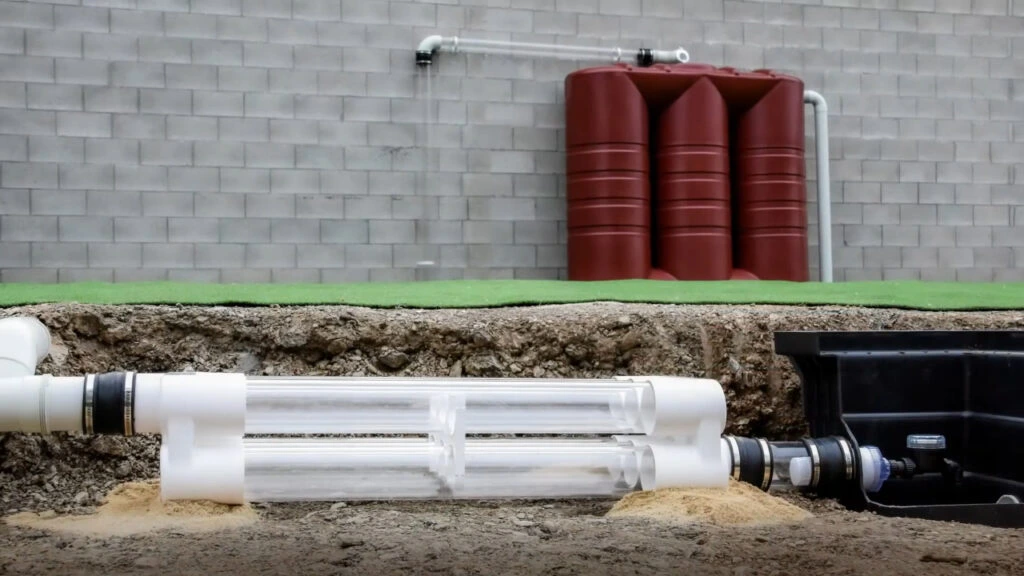
5. Install the Storage Tank (Rain Barrel or Cistern)
Choose a UV-stabilized, food-grade plastic tank or a steel drum, ideally placed on a raised platform for gravity-fed flow.
Consider:
- 50–100 gallons for small gardens
- 500–1,500+ gallons for whole-house systems
Eco tip: Upcycle old barrels or use recycled materials when possible.
6. Add a Filtration System (If Needed)
To use rainwater for:
- Irrigation – Simple mesh or sediment filter
- Toilet flushing – Carbon filters
- Drinking – UV treatment, reverse osmosis, or ceramic filters
Make sure the system complies with local potable water standards.
7. Connect a Delivery Method
Decide how you’ll access and use the water:
- Hose spigot
- Drip irrigation system
- Pump for household plumbing
Use low-pressure watering methods for the most efficient use.
Estimated Cost Breakdown
Here’s a basic cost estimate for a small DIY rooftop system:
| Component | Approx. Cost (USD) |
|---|---|
| Rain barrel (50–100 gal) | $50–$150 |
| Gutter + downspouts | $30–$100 |
| First flush diverter | $20–$50 |
| Mesh screen/filter | $10–$30 |
| Platform or stand | $25–$50 |
| Optional pump | $70–$200 |
Maintenance Tips for Longevity
Regular maintenance ensures your system remains effective and hygienic.
- Clean gutters monthly
- Flush the diverter after heavy storms
- Empty and scrub tank every 6–12 months
- Replace filters annually
Pro tip: Use a mosquito screen to prevent larvae from breeding in your tank.
Real-Life Example: The Thompson Family Garden
In California, the Thompson family installed a 250-gallon rain barrel connected to their roof. It irrigates their native plant garden and saves them up to 1,000 gallons of water during rainy seasons.
They paired it with:
- Mulch to reduce evaporation
- Drip irrigation lines
- A small solar-powered pump
Outcome: Reduced water bill and greener garden—even during droughts.
Rainwater Harvesting + Sustainability: The Bigger Picture
Combining rainwater harvesting with:
- Greywater reuse
- Low-flow fixtures
- Native landscaping
…makes your home dramatically more water-efficient and eco-friendly.
“In every drop of water, there is a story of life.” – Leena Arif
Environmental Impact at Scale
- Saves billions of gallons in stormwater runoff
- Reduces pressure on aging infrastructure
- Supports groundwater recharge
- Fosters resilient, off-grid communities
According to the World Resources Institute, smart water management can reduce the global water supply gap by 25% by 2030.
Conclusion
Building a rainwater harvesting system is one of the most impactful and empowering eco-choices you can make. It’s a tangible way to live sustainably, reduce your reliance on public systems, and protect Earth’s most vital resource.
Whether you start with a single barrel or a full-scale cistern, every drop you collect makes a difference.
“Rain is a blessing. Save it, use it, respect it.”
Read More: Eco-Friendly Ways to Conserve Water at Home: 10 Practical Tips
FAQS
Is it legal to collect rainwater in all states?Not always. Some U.S. states (like Colorado) have strict limits. Always check local regulations.
Can I drink harvested rainwater?Yes—with proper filtration, disinfection, and compliance with safety standards.
How much rainwater can I collect?About 0.6 gallons per square foot of roof area per inch of rain. So a 1,000 sq. ft. roof yields ~600 gallons in a 1” storm.